

How To Install Pandas In Jupyter Notebook
"
This article is part of in the series
Pandas is ane of the virtually popular open up-source frameworks available for Python. It is among the fastest and almost easy-to-use libraries for data analysis and manipulation.
Pandas dataframes are some of the well-nigh useful data structures bachelor in any library. It has uses in every data-intensive field, including but not limited to scientific computing, information scientific discipline, and machine learning.
The library does non come included with a regular install of Python. To use it, you must install the Pandas framework separately.
In this tutorial, we've covered the easiest methods to install Pandas on Windows and Linux machines.
How to Install Python Pandas on Windows and Linux?
Earlier y'all install Pandas, you must acquit in mind that it supports only Python versions three.vii, 3.8, and iii.ix. Therefore, if you have not installed Python on your estimator or have an older version of Python installed, you must install a version that supports Pandas on your reckoner.
To install Python without any hassle, make sure you follow our Python installation guide .
Installing Pandas on Windows
At that place are two means of installing Pandas on Windows.
Method #i: Installing with pip
Information technology is a package installation director that makes installing Python libraries and frameworks straightforward.
Equally long equally you have a newer version of Python installed (> Python 3.4), pip volition exist installed on your estimator along with Python past default.
However, if you're using an older version of Python, you will demand to install pip on your computer before installing Pandas. The easiest way to practise this is to upgrade to the latest version of Python available on https://www.python.org .
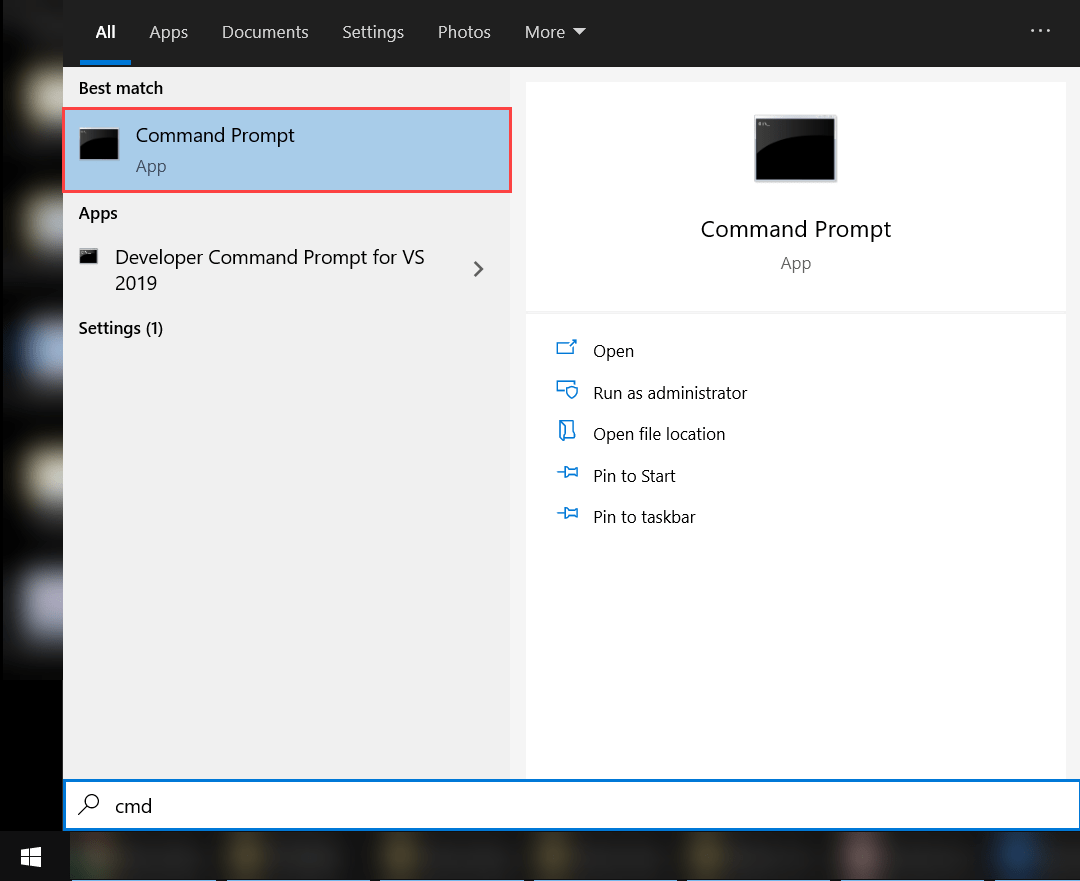
Step #1: Launch Command Prompt
Press the Windows key on your keyboard or click on the Start push button to open up the kickoff menu. Type "cmd," and the Control Prompt app should announced as a listing in the outset menu.
Open up the command prompt and then y'all tin install Pandas.
Footstep #two: Enter the Required Command
Later on you launch the control prompt, the next step in the process is to type in the required control to initialize pip installation.
Enter the command "pip install pandas" on the terminal. This should launch the pip installer. The required files will exist downloaded, and Pandas will be ready to run on your computer.

After the installation is complete, you will be able to use Pandas in your Python programs.
Method #2: Installing with Anaconda
If you don't have much experience using terminals and programming, installing Pandas using Anaconda is the all-time style to go. Anaconda is a powerful Python distribution that gives you admission to a diversity of tools as well Pandas. As yous acquire more and more virtually Python, you volition find Anaconda more than and more useful.
Footstep #1: Download Anaconda
To install Anaconda, you must first visit https://www.anaconda.com/products/individual and click on the "Download" push on the correct.
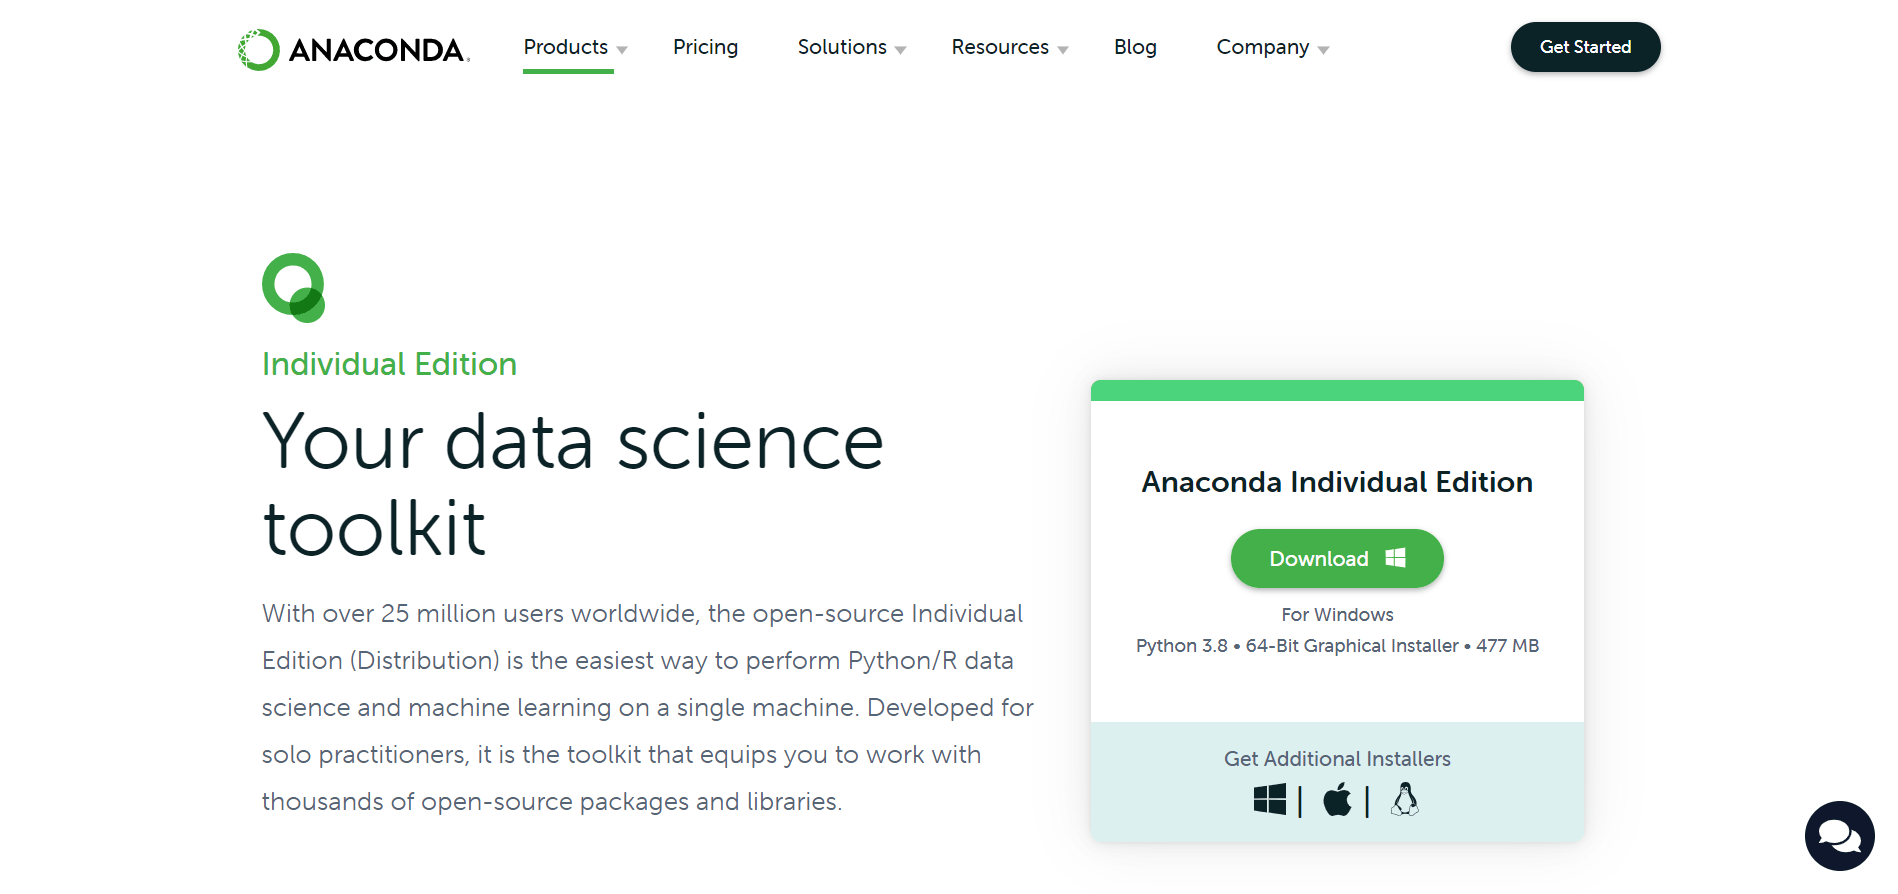
The appropriate file for the version of Python installed on your Windows arrangement volition brainstorm to download.
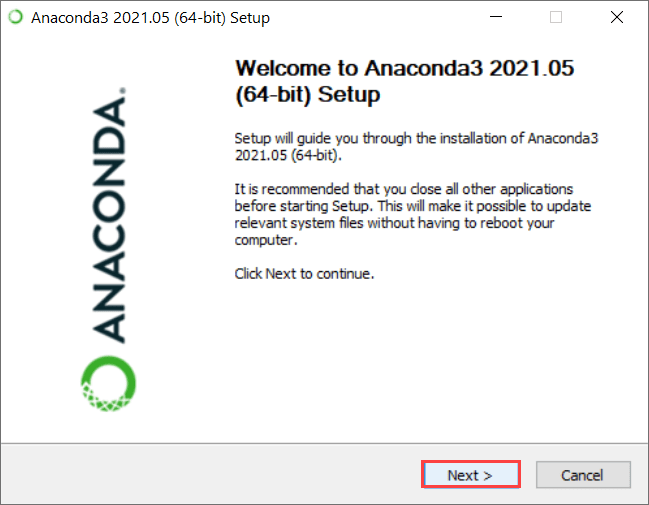
Step #2: Install Anaconda
Launch the installer that y'all downloaded from the website, and click the "Next" button.
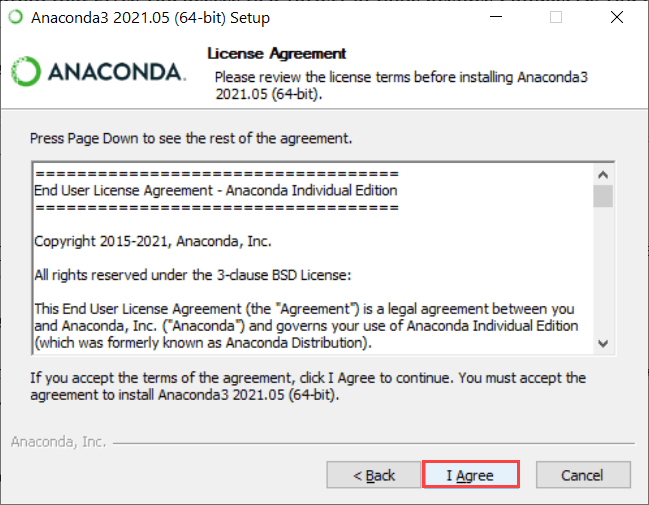
Side by side, to agree to the license understanding, press the "I Agree" button.
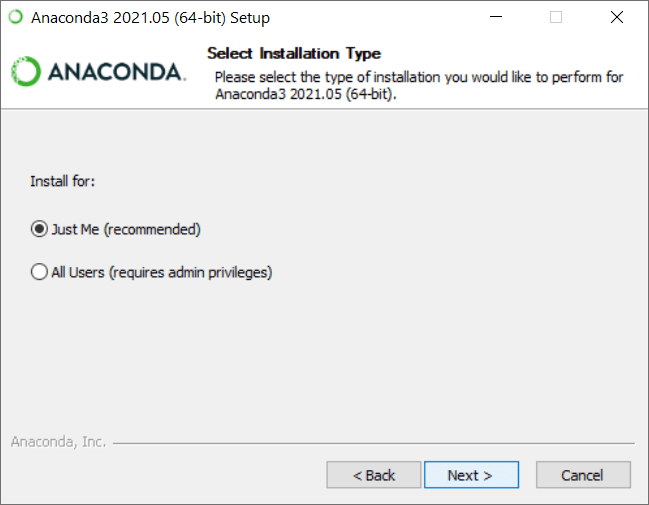
You must then select the user accounts for which y'all desire Pandas installed. For the sake of the tutorial, we chose the recommended "Just Me" option.
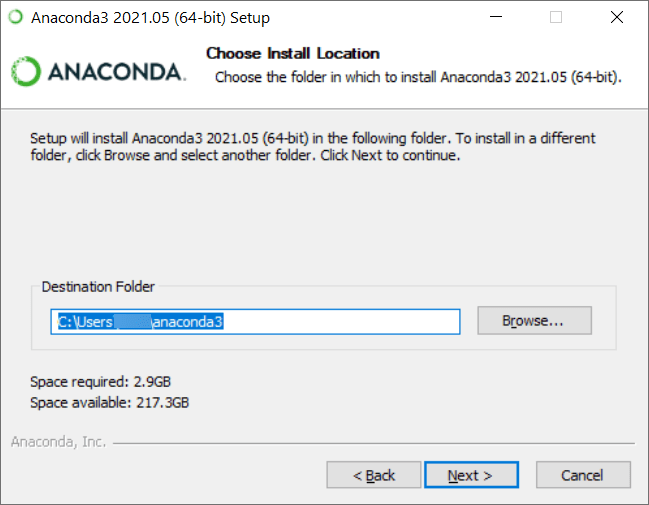
In the penultimate stride of the wizard, yous must select where you lot desire the distribution to be installed.
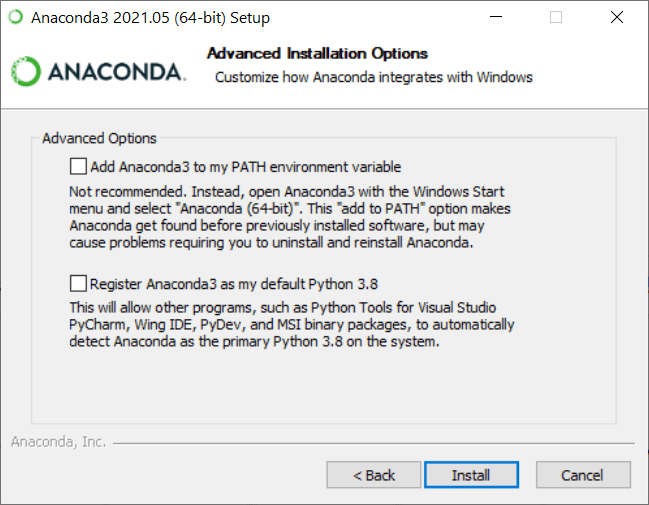
Finally, you must bank check the "Add Anaconda to my PATH environment variable" and "Register Anaconda3 as my default Python iii.8" options in the advanced installation options section.
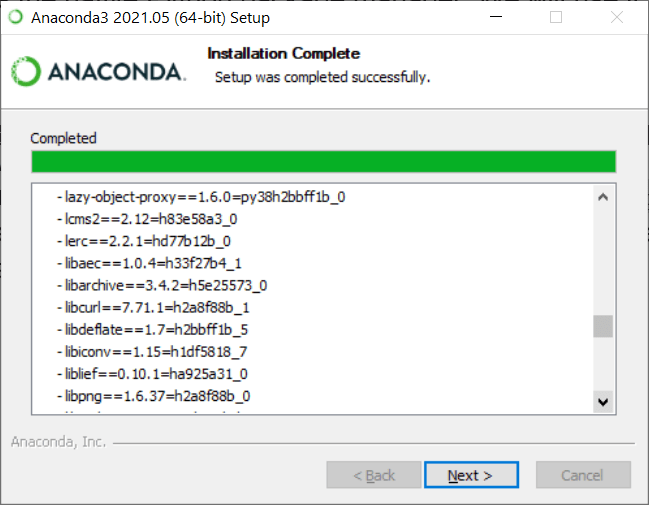
Clicking the "Install" push volition begin the installation process for Anaconda. After a few minutes, when the installation is complete, you lot will run into the "Installation Complete" screen. Information technology looks like this:
Y'all will now have access to all of the Pandas libraries on your computer. This is considering Anaconda installs all of the major libraries for you automatically during installation.
Stride #3: Use Jupyter Notebook (Optional)
If you're going to exist using Pandas, chances are, you're working on machine learning projects. Jupyter Notebooks are a bang-up IDE that makes working on auto learning projects more straightforward.
To work with Jupyter Notebooks after installing Anaconda, press the Windows key and search for "Anaconda Navigator." A screen volition appear with several applications listed.
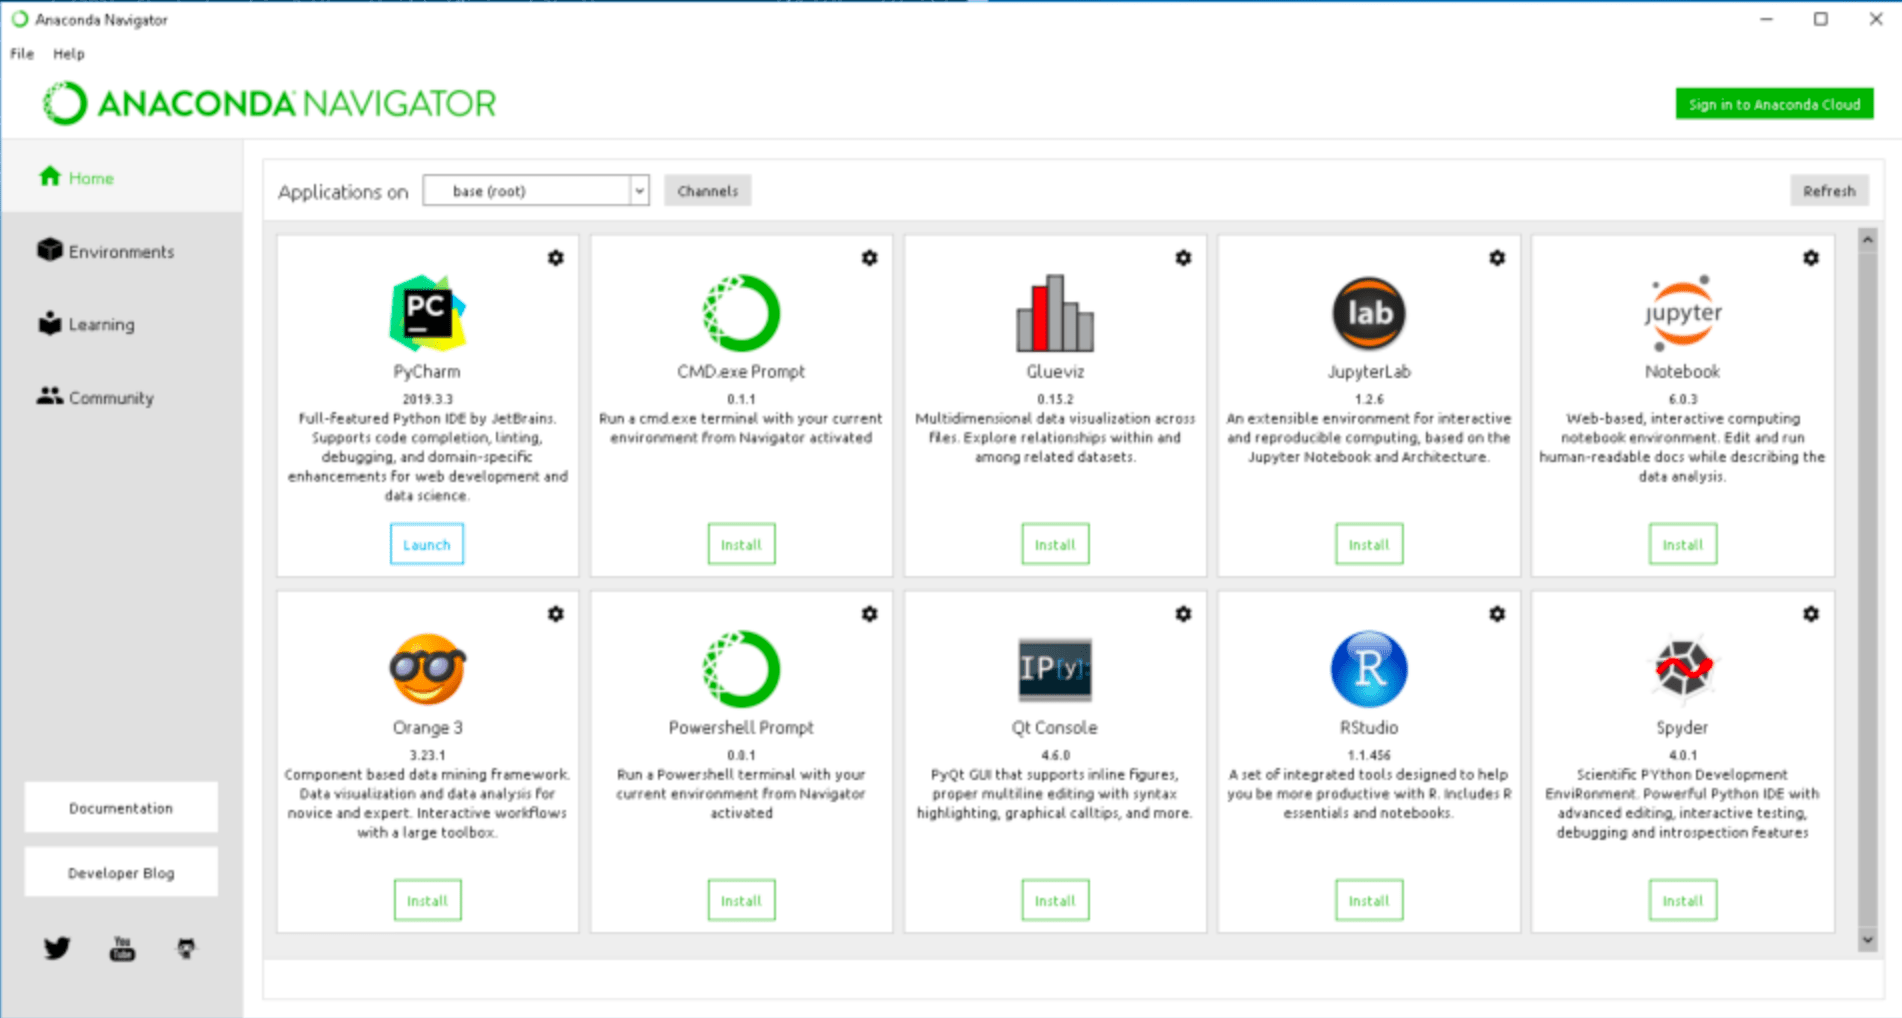
From the list, you lot must find and launch Jupyter Notebooks. Your default browser will open a localhost page similar to the i in the image below. Yous will find a dropdown menu on the right side of the screen, just as indicated.
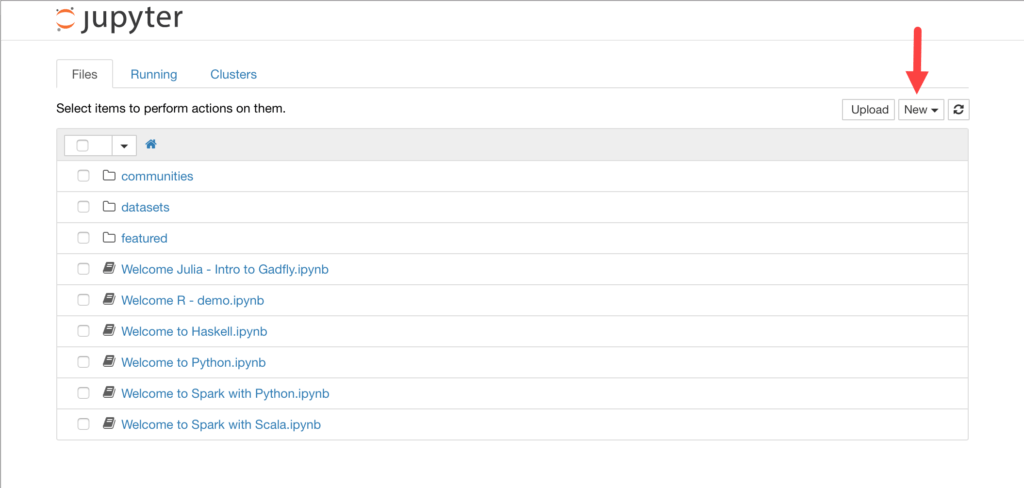
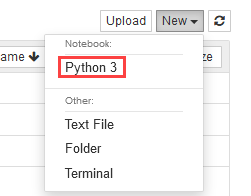
You must open up the dropdown carte and select the "Python 3" option. Then, a new tab volition open up where you can start coding.
Installing Pandas on Linux
In that location are iii ways to install pandas on a Linux distro. You can either (1) install it from the distro's repository, (2) install it using pip, or (iii) use Anaconda or Miniconda to install it.
Installing pandas from the distro'south repository is an unreliable method of installation since the repo often has an older version of pandas. Installing pandas with Anaconda or Miniconda will require you to set it up, extending the process.
Installing Pandas using pip is the best fashion to go since it installs the latest version and doesn't require going through several steps to gear up another prerequisite tool.
Method #one: Installing with pip
Python users of all skill levels utilize 1 of 2 Python package managers. Ane is called pip, and it is the official Python package manager. The other package director is known as conda. Conda may represent either Anaconda or Miniconda, depending on what the user has installed on their computer.
To install Pandas with pip:
Footstep #1: Install pip
Installing pip3 on your Linux machine is as simple as running the following command on your terminal:
sudo apt install python3-pip
You must bear in mind that since pip needs Python 3 to run, Python 3 will be installed on your Linux machine. When yous run the command, you should see an output similar to this:
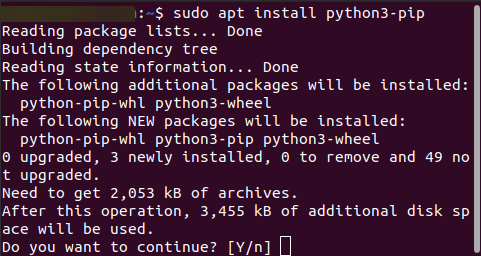
As you can run across, the control will too install python-pip-whl and python3-bike. "Bike" is a built-in Python package format.
You will demand to printing the "Y" push button to initiate the installation. Then, when the procedure completes, you can move on to the adjacent pace.
Step #2: Install Pandas
At present that your machine has pip installed, you tin install Pandas with it. All you lot have to do is run the following command:
When the control finishes running, Pandas volition exist installed on your automobile.
Method #2: Installing with Anaconda
If y'all have Anaconda or Miniconda installed on your Linux machine, all yous have to do is run the following control to install pandas:
The reckoner volition prompt you to ostend the installation. Side by side, yous should run into a "Proceed (y/n)" bulletin pop up on the terminal. When you press "y," the Pandas installation process will begin.
To verify whether Pandas is installed correctly on your system, run python3 on the terminal, and enter the following code in the interactive shell:
import pandas as pd due south = pd.Series([i, 6, 8, x]) south
You should see the details of the Pandas installation appear in the terminal.
Conclusion
Pandas is one of many nifty libraries that are widely used by Python developers globally. To learn about other libraries and sympathize how to use them, visit our Python Library Tutorials page.
There are several ways of going about installing Pandas on a computer. The methods listed in this post are fairly simple, and it shouldn't have you longer than five minutes to get Pandas set up on your machine.

Source: https://www.pythoncentral.io/how-to-install-pandas-in-python/
Posted by: weavercounce.blogspot.com
0 Response to "How To Install Pandas In Jupyter Notebook"
Post a Comment